Processing Customer Returns and Exchanges
Make a note of the original Invoice ID number and customer name that you want to process a return for.
From the "Invoice" dashboard, create a new Invoice. In the Task Bar (in the new Invoice window), click the "Return" Button. This will open the "Returns" window.
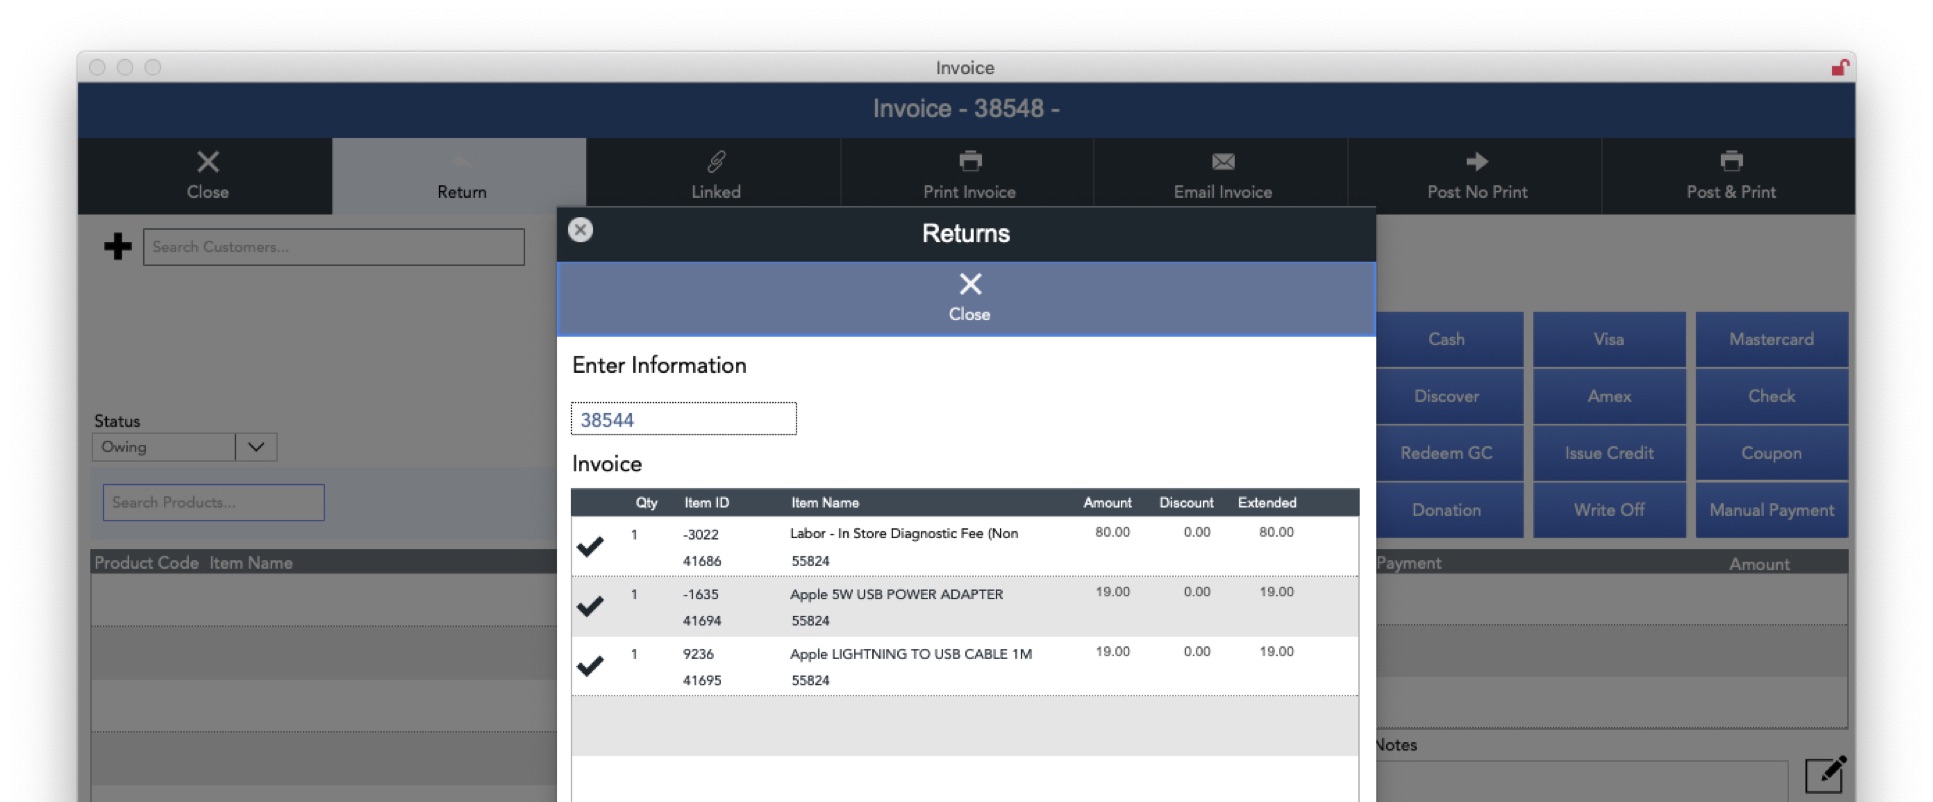
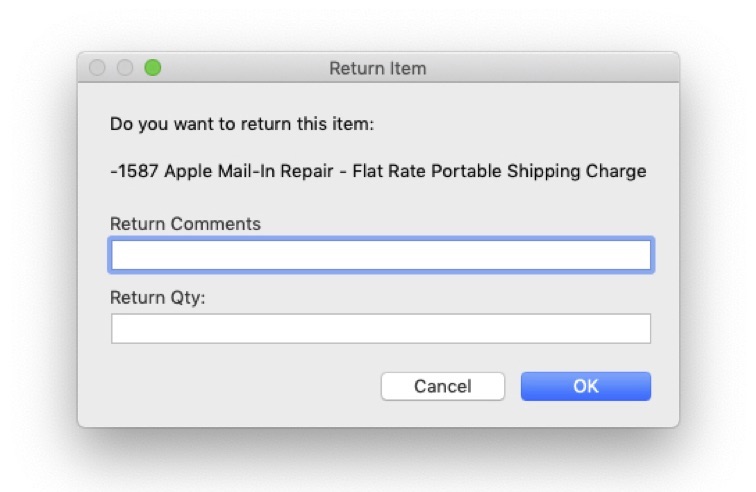
Enter the Invoice ID number of the original Invoice, and press the RETURN key. This will import each of the items from the original Invoice. Click on the 'Check' icon for each item to be returned -- this will bring up a window to enter comments, and the quantity of items being returned or exchanged. (Note: return quantity should be a positive number, not be a negative number.) Click the OK Button when finished.
As you add items to be returned, you'll see them appear at the bottom of the "Returns" window, and they are also added to the Invoice. When all of the information is entered, click the "Close" button at the top of the "Returns" window.
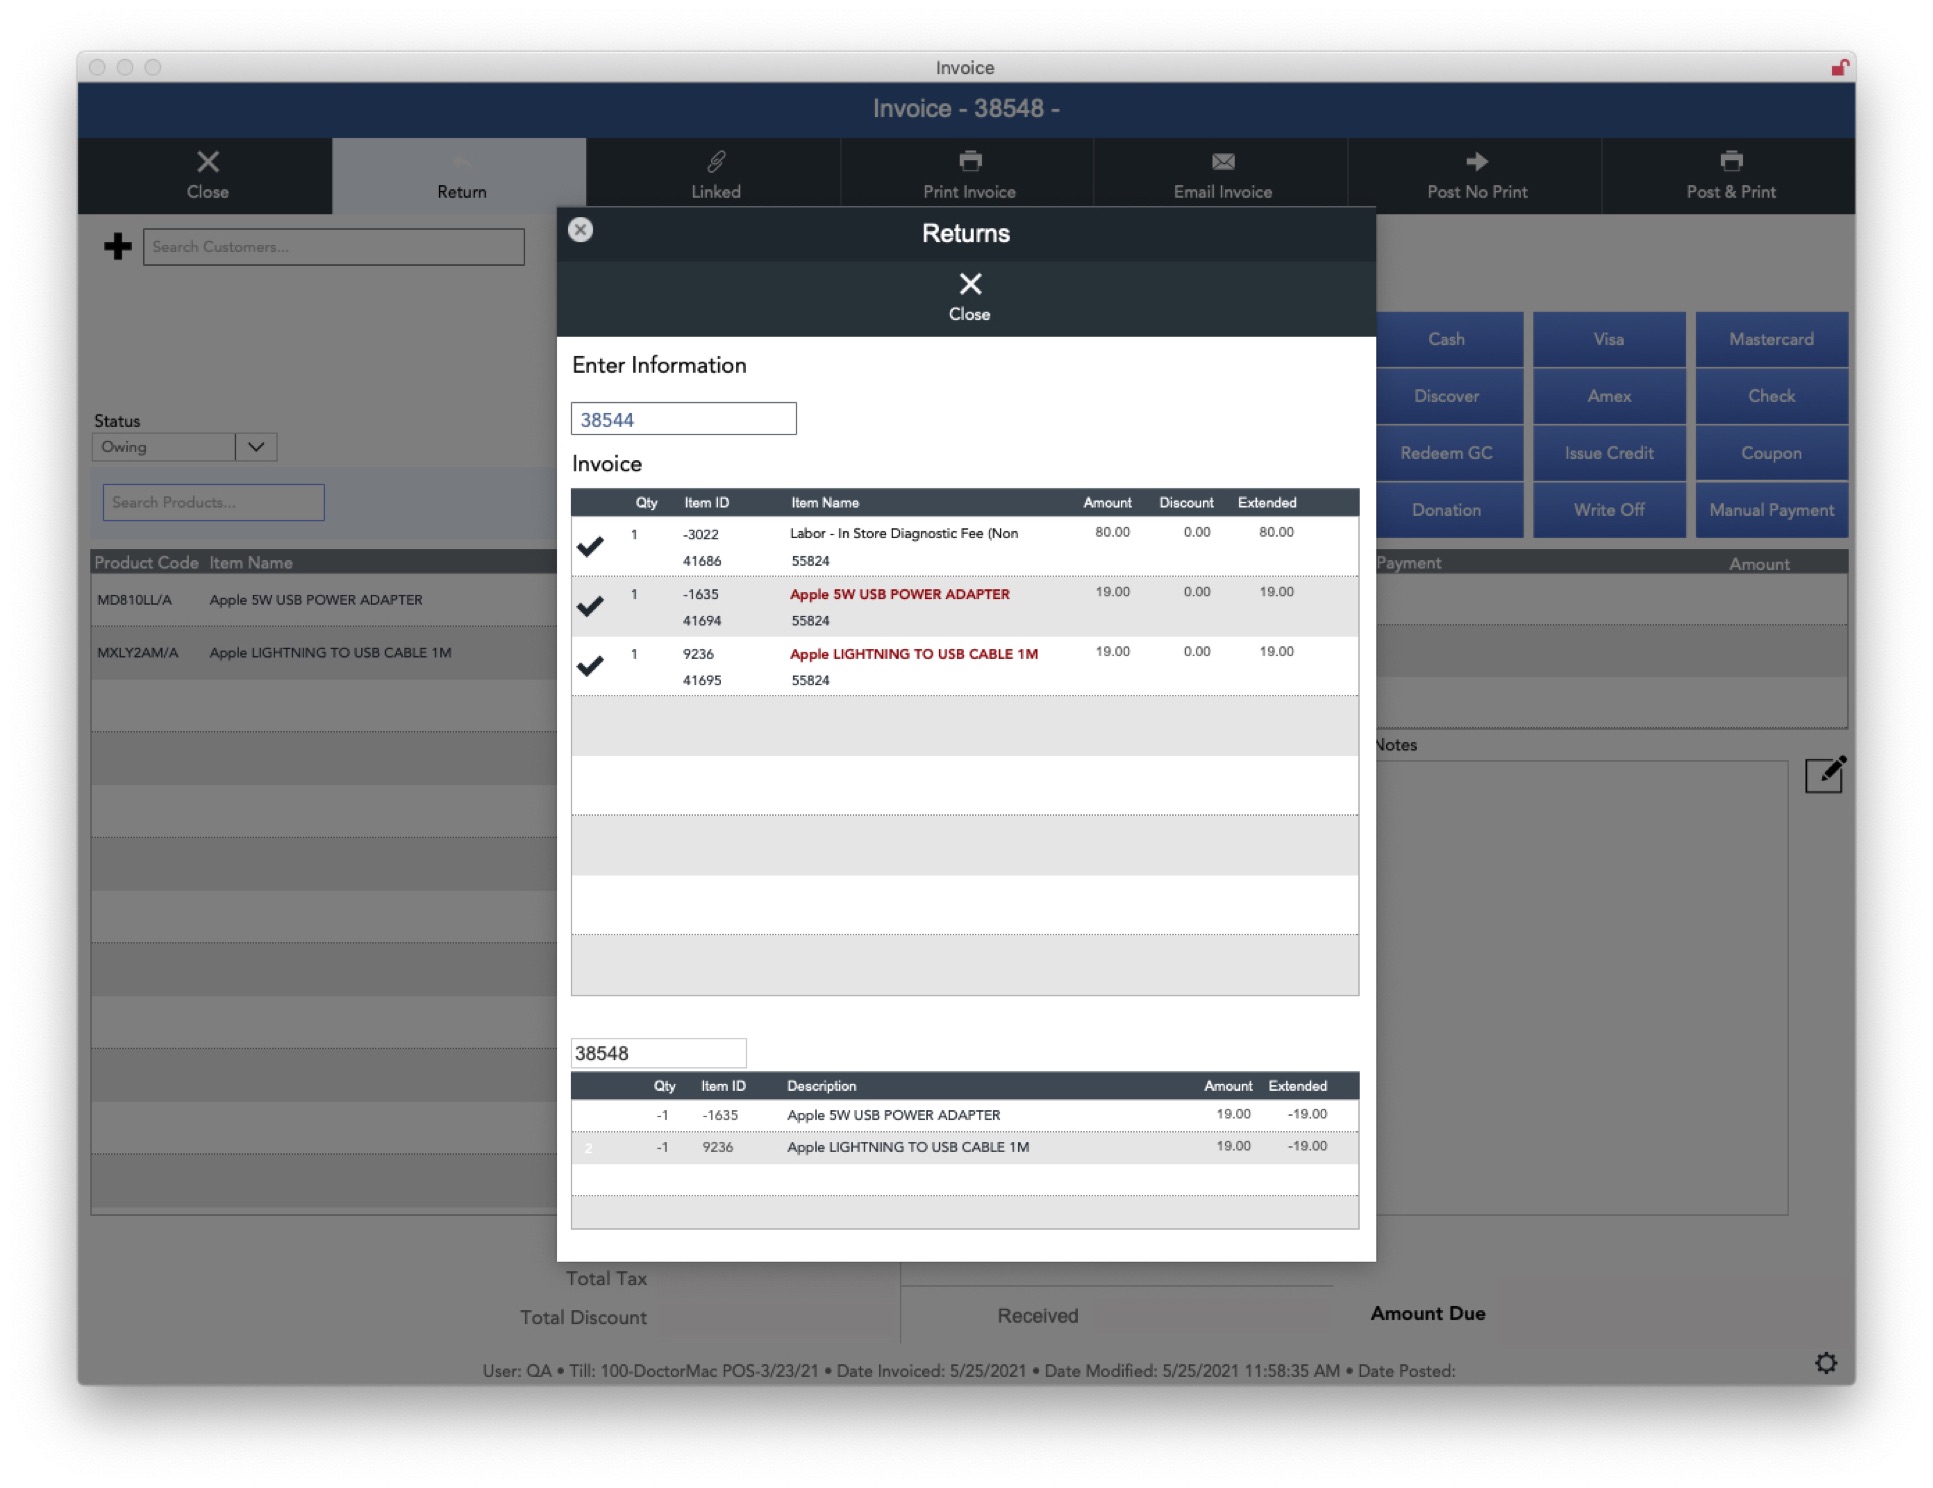
This will take you to the "Invoice" window, where you can continue the process in a new Invoice. (You'll note the items added for return are in negative quantities.)
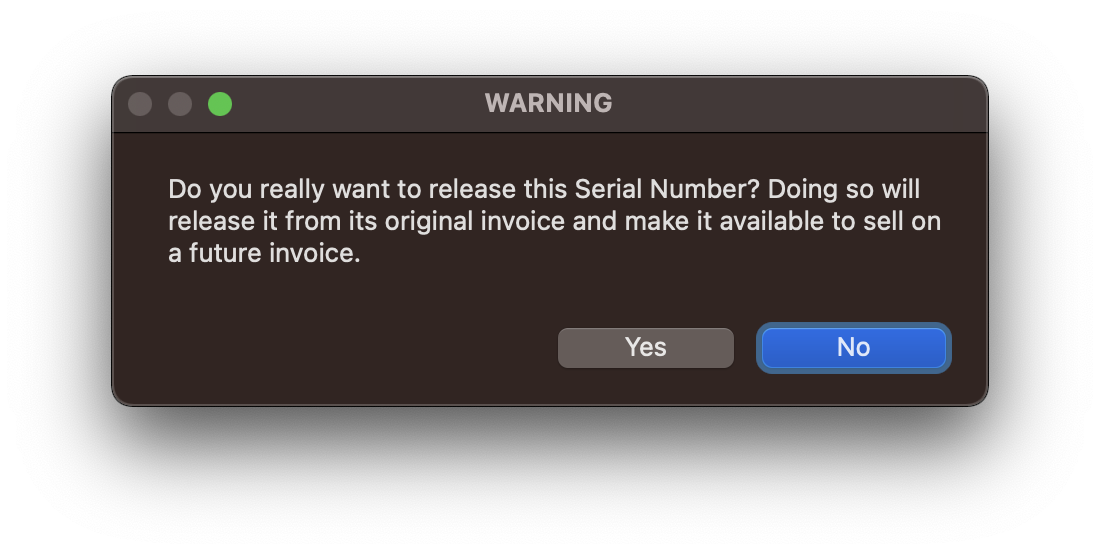
Note: If you are accepting a return for a Serialized Product, you'll need to click on the "Barcode" icon and deselect the Serial Numbers for the products being returned, in order for them to be returned to Inventory. When doing so you'll see a confirmation.
Add the customer information from the original Invoice. At this point, a transaction can be processed to credit the customer's Credit Card, or a Cash Payment can be made.
To process a Credit Card refund for the initial transaction, you'll need to go back to the originalInvoice. Click on the "i" button next to the payment. In the pop-up window, select the "Trans ID" and copy it, or click on the "Copy" icon to the right of the field.
